
Get started in five minutes
Create an account, add your first site and read your first scan.
This guide takes you from nothing to a finished scan with results you can act on. Allow about five minutes for the setup and a few minutes more for the scan itself, depending on how many pages your site has.
1. Create your account
- Go to the sign-up page and enter your first name, your email address and a password.
- Choose a password of at least 12 characters with an uppercase letter, a lowercase letter, a number and a symbol.
- Tick the box to agree to the Terms of Service and Privacy Policy. The mailing list box is optional.
- Open the confirmation email we send you and select the button in it. You will see an "Email confirmed" message, and then your dashboard opens.
2. Add your site
On the dashboard, find the "Add a site" box and fill in three things.
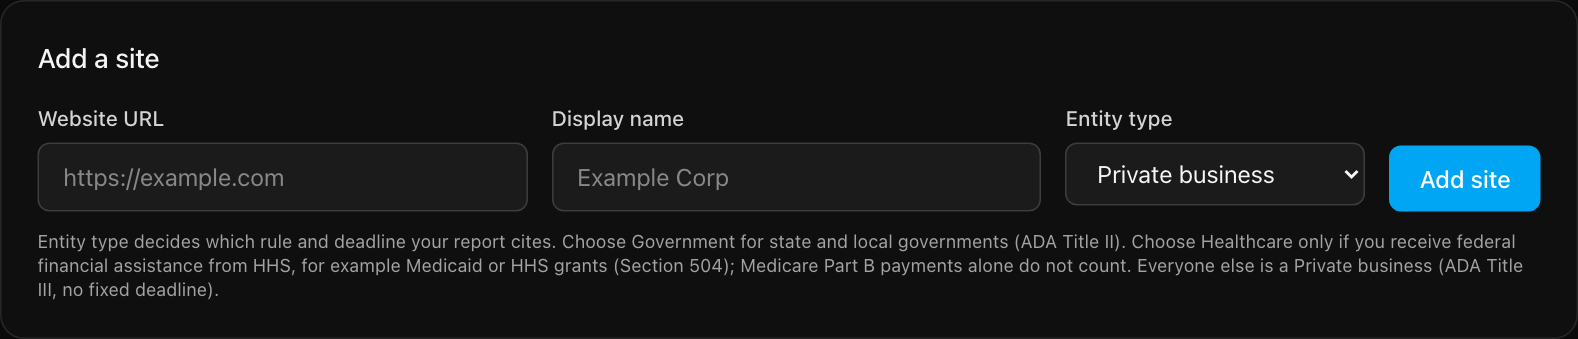
- Website URL. Use your home page, for example
https://www.example.com. The scanner starts here. - Display name. A label for you and your team. It also appears on a statement or VPAT if you create one. You can rename the site later under Settings, "Site name". The website address cannot be changed, so add the site again if the address is wrong.
- Entity type. This decides which rule and deadline your report cites. Pick Government if you are a state or local government body. Pick Healthcare only if you receive federal financial assistance from HHS, such as Medicaid or HHS grants. Medicare Part B payments alone do not count. Everyone else is a Private business.
Select Add site. We check that the address loads before saving it. The Free plan includes one site. See plans and billing for the other limits.
3. Run your first scan
Your site now appears under "Monitored sites". Select Scan now on its card.

A scan joins a queue. If other scans are ahead of yours, the card shows your queue position. When it finishes, the status turns to "succeeded", the card shows the number of findings and the number of pages scanned, and we email you the report.
4. Read the results
Select Issues & Trends on the site card. You will see a summary at the top and a list of findings below it. Read your scan results explains each part.
What to do next
- Work through the findings with the fix workflow.
- Look up the most common problems in how to fix common issues.
- Understand the limits of automated testing in what scans can and cannot find.
- Want a public statement or a VPAT? First confirm you own the site.
Still stuck? Contact us with your site address and what you expected to happen.